The quality of auto parts is one of the important factors that directly affect the performance of the car. In the face of increasingly fierce market competition, the production of auto parts uses 3D scanners to enhance technical advantages, thereby improving product quality and shortening the production cycle.
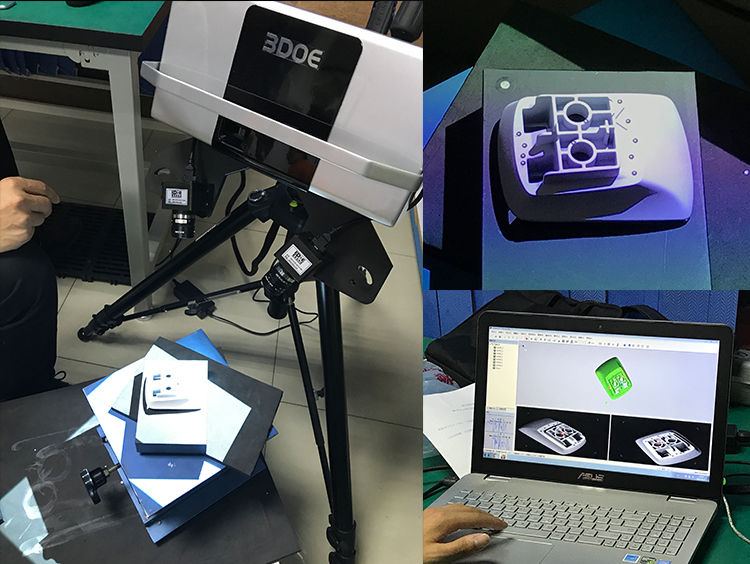
2. Using traditional measurement methods (such as inspection tools, fixtures, three coordinates, etc.) is very tedious and time-consuming. And it is not easy to accurately and quickly measure and inspect the structure of auto parts.
1. Use industrial 3D scanners to quickly obtain 3D data of auto parts
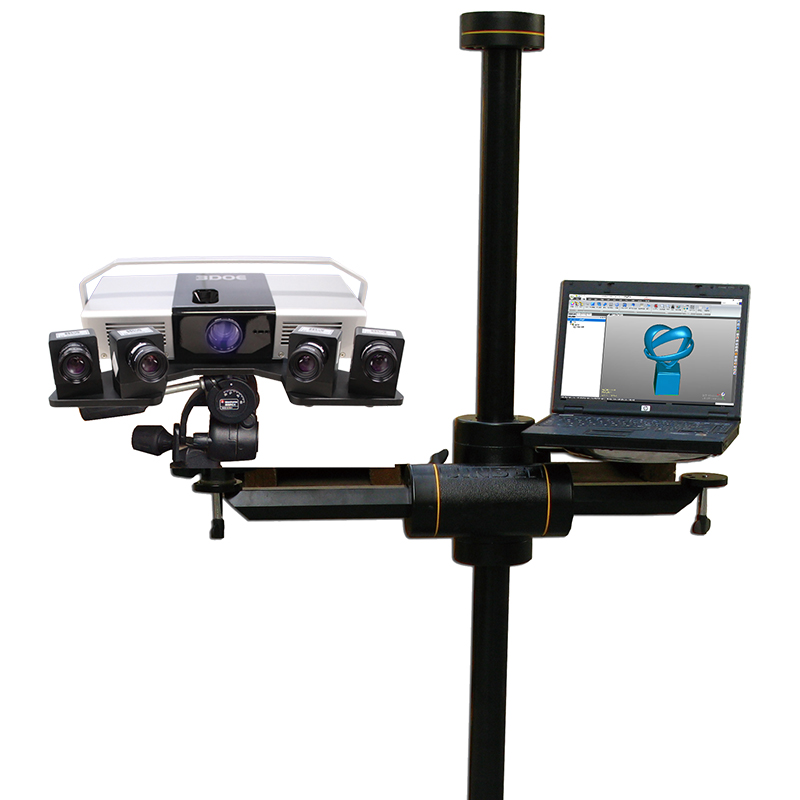
3DOE’s technical engineers use a 3D scanner (PTS-A series) to perform 3D scanning. The scanning time is about 10-15 minutes. The scan results of auto parts are 3D data in asc, stl and other formats.
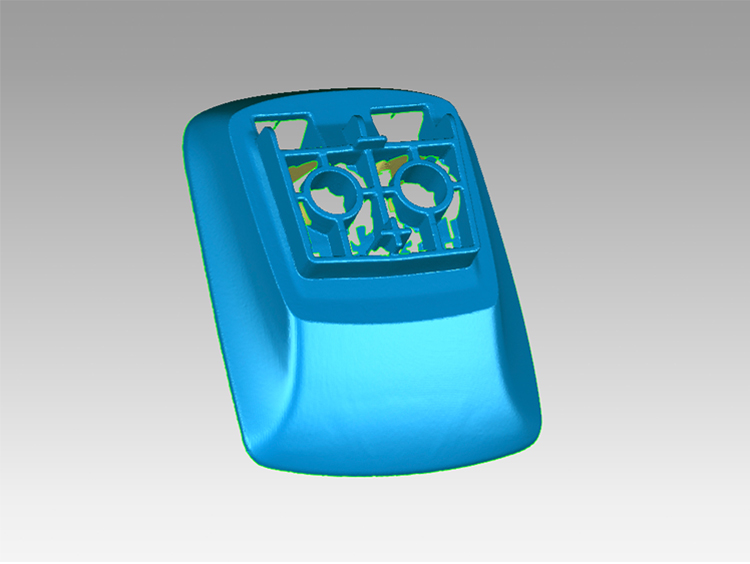
2. Import original CAD data of auto parts into 3D mathematical modeling detection software (3 digital modeling detection software allows the import of original data of all major CAD software, which is acceptable in STP and IGS format)
3. Import the scanned 3D point cloud data of auto parts in ASC format into 3D mathematical modeling detection software for 3D mathematical modeling detection and comparison
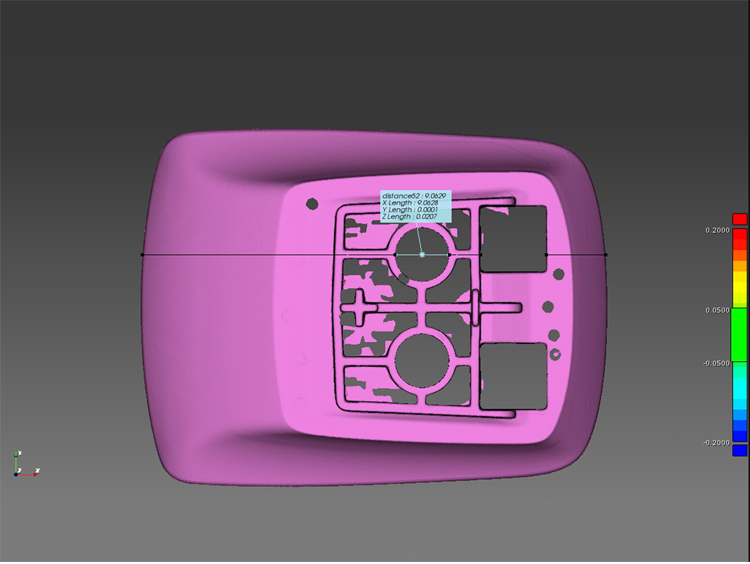
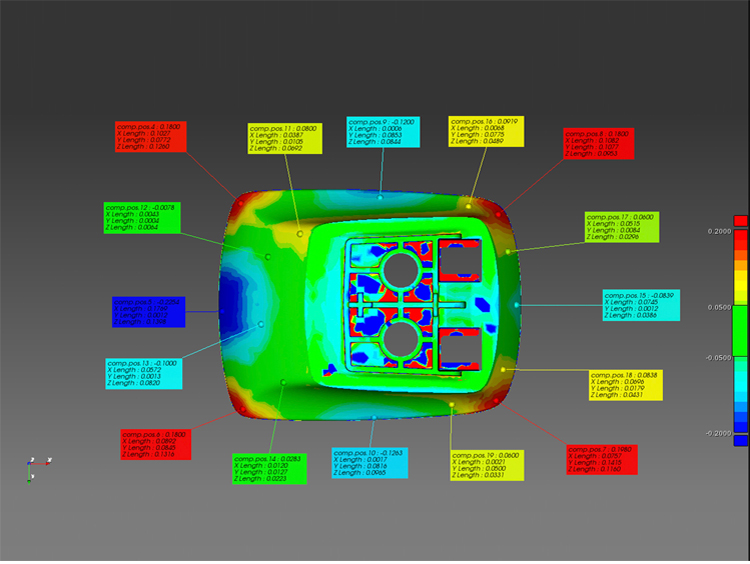
You can generate screenshots of test reports for all the points you need
Major test reports can be generated
Test projects that can be saved, can be backtracked and cumulative testing
You can do an overall bias comparison
Related Products
PTS-A series (binocular) photographic white light 3D scanner PTS-A series (four - eye) photographic white light 3D scanner

 0755-86131192


 0755-86131192